In this article, you will build a small Spring Boot web app. It opens one web address /. When you visit it, the app sends back the text Hello World, Spring Boot!.
Things you will use:
- Spring Boot 4.0.6
- Java 25
- Maven 3.9.6
Table of contents:
- 1. Project Directory
- 2. Spring Boot Maven Dependencies
- 3. Project Dependencies in Tree Structure
- 4. Spring Boot Web Application
- 5. Spring Boot Entry Point
- 6. Unit Test
- 7. Demo
- 8. Create an Executable JAR
- 9. Download Source Code
- 10. References
Note
Spring Boot 4.x needs at least Java 17 to run.
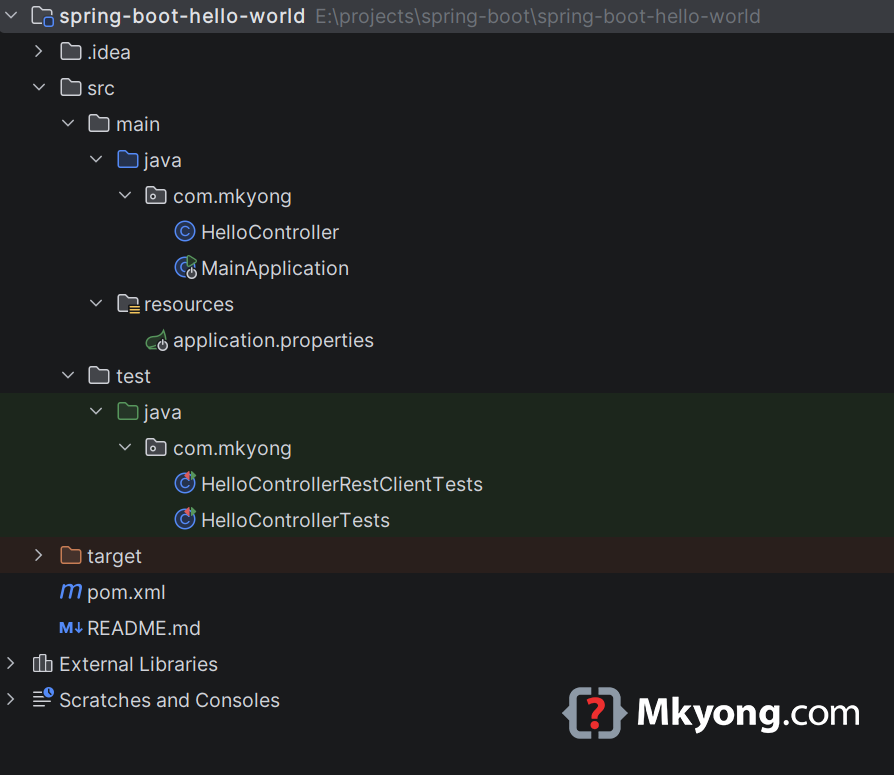
1. Project Directory
The fastest way is to use Spring Initializr to make the project for you. Or you can make the folders by hand.
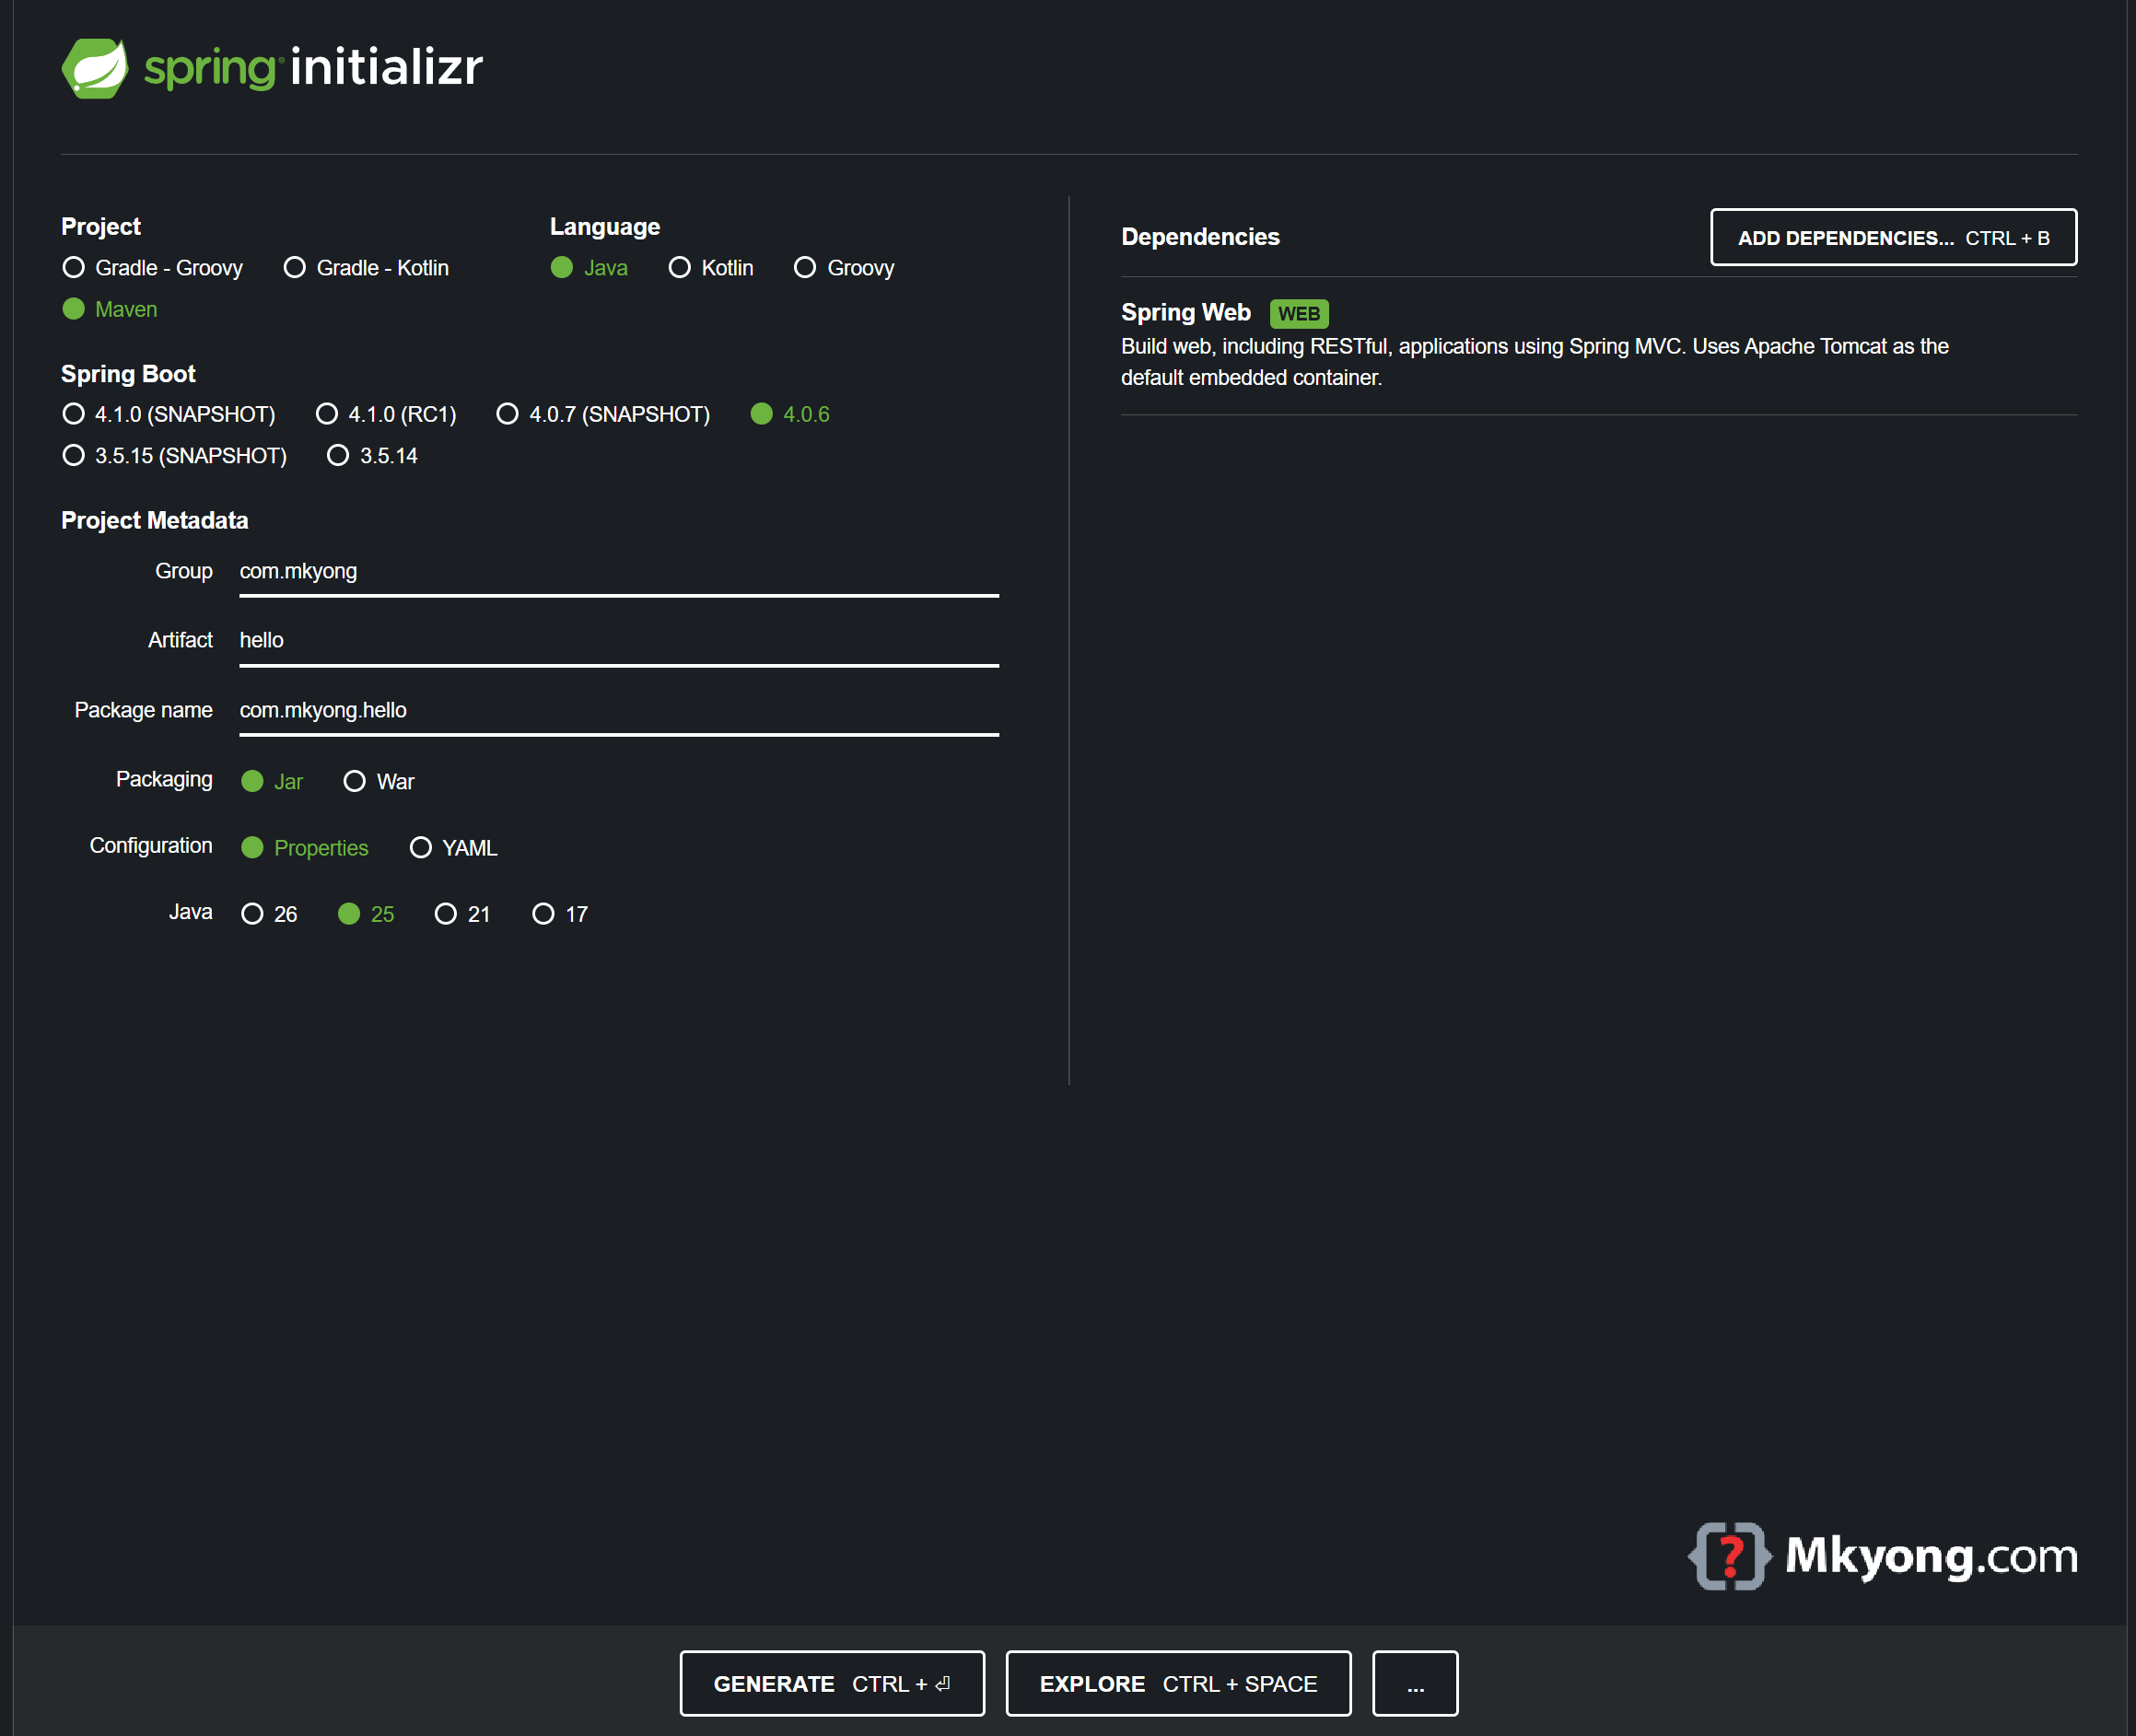
This is a normal Maven folder layout.
2. Spring Boot Maven Dependencies
The spring-boot-starter-parent gives your app a base setup. To make web pages, you add spring-boot-starter-webmvc.
    <parent>
        <groupId>org.springframework.boot</groupId>
        <artifactId>spring-boot-starter-parent</artifactId>
        <version>4.0.6</version>
        <relativePath/> <!-- get the parent from the repository, not a local folder -->
    </parent>

    <dependencies>
        <dependency>
            <groupId>org.springframework.boot</groupId>
            <artifactId>spring-boot-starter-webmvc</artifactId>
        </dependency>
    </dependencies>
Here is the full pom.xml.
<?xml version="1.0" encoding="UTF-8"?>
<project xmlns="http://maven.apache.org/POM/4.0.0"
         xmlns:xsi="http://www.w3.org/2001/XMLSchema-instance"
         xsi:schemaLocation="http://maven.apache.org/POM/4.0.0
         http://maven.apache.org/xsd/maven-4.0.0.xsd">
    <modelVersion>4.0.0</modelVersion>

    <artifactId>spring-boot-hello-world</artifactId>
    <packaging>jar</packaging>
    <name>Spring Boot Hello World Example</name>
    <version>1.0</version>

    <parent>
        <groupId>org.springframework.boot</groupId>
        <artifactId>spring-boot-starter-parent</artifactId>
        <version>4.0.6</version>
        <relativePath/>
    </parent>

    <properties>
        <!-- tell Maven to build with Java 25 -->
        <java.version>25</java.version>
    </properties>

    <dependencies>

        <!-- the web part for Spring Boot 4 -->
        <dependency>
            <groupId>org.springframework.boot</groupId>
            <artifactId>spring-boot-starter-webmvc</artifactId>
        </dependency>

        <!-- the testing part, only used when you run tests -->
        <dependency>
            <groupId>org.springframework.boot</groupId>
            <artifactId>spring-boot-starter-webmvc-test</artifactId>
            <scope>test</scope>
        </dependency>

    </dependencies>

    <build>
        <plugins>
            <plugin>
                <groupId>org.springframework.boot</groupId>
                <artifactId>spring-boot-maven-plugin</artifactId>
            </plugin>

            <plugin>
                <groupId>org.apache.maven.plugins</groupId>
                <artifactId>maven-compiler-plugin</artifactId>
                <version>3.15.0</version>
                <configuration>
                    <source>${java.version}</source>
                    <target>${java.version}</target>
                </configuration>
            </plugin>

        </plugins>
    </build>

</project>
3. Project Dependencies in Tree Structure
The spring-boot-starter-webmvc quietly pulls in more helper code for you. The big ones are an embedded Tomcat (a tiny web server built in), SLF4J Logback for logging, and Jackson for JSON.
You can see the full list with mvn dependency:tree.
$ mvn dependency:tree

[INFO] org.springframework.boot:spring-boot-hello-world:jar:1.0
[INFO] +- org.springframework.boot:spring-boot-starter-webmvc:jar:4.0.6:compile
[INFO] |  +- org.springframework.boot:spring-boot-starter:jar:4.0.6:compile
[INFO] |  |  +- org.springframework.boot:spring-boot-starter-logging:jar:4.0.6:compile
[INFO] |  |  |  +- ch.qos.logback:logback-classic:jar:1.5.32:compile
[INFO] |  |  |  |  \- ch.qos.logback:logback-core:jar:1.5.32:compile
[INFO] |  |  +- org.springframework.boot:spring-boot-autoconfigure:jar:4.0.6:compile
[INFO] |  +- org.springframework.boot:spring-boot-starter-tomcat:jar:4.0.6:compile
[INFO] |  |  |  +- org.apache.tomcat.embed:tomcat-embed-core:jar:11.0.21:compile
[INFO] |  \- org.springframework.boot:spring-boot-webmvc:jar:4.0.6:compile
[INFO] \- org.springframework.boot:spring-boot-starter-webmvc-test:jar:4.0.6:test
[INFO] ------------------------------------------------------------------------
[INFO] BUILD SUCCESS
[INFO] ------------------------------------------------------------------------
4. Spring Boot Web Application
Now you make the part that answers web requests. The @RestController line tells Spring "this class handles web request." The @RequestMapping("/") line says "when someone visits /, run this method."
package com.mkyong;

import org.springframework.web.bind.annotation.RequestMapping;
import org.springframework.web.bind.annotation.RestController;

// this class answers web requests and sends back plain text
@RestController
public class HelloController {

    // when someone visits "/", run this method
    @RequestMapping("/")
    String hello() {
        // this text is sent back to the visitor
        return "Hello World, Spring Boot!";
    }

}
When someone visits /, the hello() method runs and sends the text back.
5. Spring Boot Entry Point
This is the start button for your app. The @SpringBootApplication line marks the main class. You run this one file and the whole web app starts.
package com.mkyong;

import org.springframework.boot.SpringApplication;
import org.springframework.boot.autoconfigure.SpringBootApplication;

// this is the main class that starts everything
@SpringBootApplication
public class MainApplication {

    // the program starts running here
    public static void main(String[] args) {
        // this line boots up the whole Spring Boot app
        SpringApplication.run(MainApplication.class, args);
    }

}
You run this file, and Spring Boot starts the web server for you.
6. Unit Test
6.1 MockMvc
The test visits / and checks the text comes back right.
package com.mkyong;

import org.junit.jupiter.api.Test;
import org.springframework.beans.factory.annotation.Autowired;
import org.springframework.boot.webmvc.test.autoconfigure.AutoConfigureMockMvc;
import org.springframework.boot.test.context.SpringBootTest;
import org.springframework.http.MediaType;
import org.springframework.test.web.servlet.MockMvc;
import org.springframework.test.web.servlet.request.MockMvcRequestBuilders;

import static org.hamcrest.Matchers.equalTo;
import static org.springframework.test.web.servlet.result.MockMvcResultMatchers.content;
import static org.springframework.test.web.servlet.result.MockMvcResultMatchers.status;

@SpringBootTest
@AutoConfigureMockMvc
public class HelloControllerTests {

    // the fake visitor
    @Autowired
    private MockMvc mvc;

    @Test
    public void welcome_ok() throws Exception {
        // visit "/", then check the answer is OK and the text matches
        mvc.perform(MockMvcRequestBuilders.get("/").accept(MediaType.APPLICATION_JSON))
                .andExpect(status().isOk())
                .andExpect(content().string(equalTo("Hello World, Spring Boot!")));
    }

}
6.2 RestTestClient
package com.mkyong;

import org.junit.jupiter.api.Test;
import org.springframework.beans.factory.annotation.Autowired;
import org.springframework.boot.resttestclient.autoconfigure.AutoConfigureRestTestClient;
import org.springframework.boot.test.context.SpringBootTest;
import org.springframework.test.web.servlet.client.RestTestClient;

// start a real server on a random port
@SpringBootTest(webEnvironment = SpringBootTest.WebEnvironment.RANDOM_PORT)
@AutoConfigureRestTestClient
public class HelloControllerRestClientTests {

    // the real visitor
    @Autowired
    private RestTestClient restTestClient;

    @Test
    public void hello_ok() throws Exception {
        // visit "/", then check status is OK and text matches
        restTestClient.get().uri("/")
                .exchange()
                .expectStatus().isOk()
                .expectBody(String.class).isEqualTo("Hello World, Spring Boot!");
    }

}
7. Demo
Go to the project folder and type mvn spring-boot:run to start the app.
$ mvn spring-boot:run
Spring Boot starts its built-in Tomcat server on port 8080.
$ mvn spring-boot:run

  .   ____          _            __ _ _
 /\\ / ___'_ __ _ _(_)_ __  __ _ \ \ \ \
( ( )\___ | '_ | '_| | '_ \/ _` | \ \ \ \
 \\/  ___)| |_)| | | | | || (_| |  ) ) ) )
  '  |____| .__|_| |_|_| |_\__, | / / / /
 =========|_|==============|___/=/_/_/_/

 :: Spring Boot ::                (v4.0.6)

com.mkyong.MainApplication : Starting MainApplication using Java 25.0.2
o.s.boot.tomcat.TomcatWebServer : Tomcat started on port 8080 (http)
com.mkyong.MainApplication : Started MainApplication in 0.748 seconds
P.S. Press ctrl + c to stop the app.
Now you can test it. Use curl to send a web request to /.
$ curl localhost:8080

Hello World, Spring Boot!
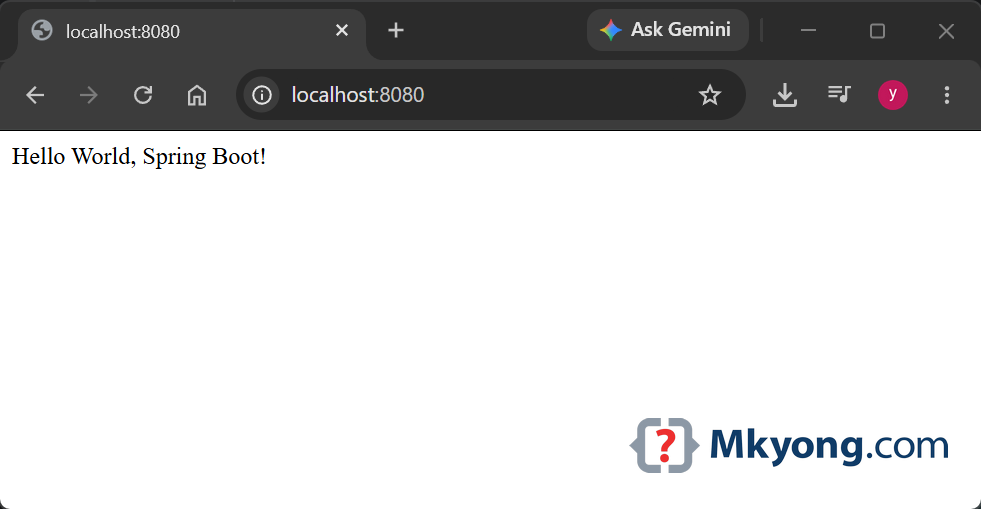
Or open a browser and go to http://localhost:8080/. You will see the plain text Hello World, Spring Boot!.
8. Create an Executable JAR
A JAR is one file that holds your whole app. The packaging line tells Maven to make a JAR.
  <artifactId>spring-boot-hello-world</artifactId>
  <packaging>jar</packaging>
  <name>Spring Boot Hello World Example</name>
  <version>1.0</version>
The spring-boot-maven-plugin packs it into a JAR you can run.
  <plugin>
      <groupId>org.springframework.boot</groupId>
      <artifactId>spring-boot-maven-plugin</artifactId>
  </plugin>
Run mvn clean package to build the JAR, then run it with java -jar.
$ cd [project-path]

$ mvn clean package

$ java -jar target/spring-boot-hello-world-1.0.jar
You now have one file that runs your whole web app.
9. Download Source Code
$ git clone https://github.com/mkyong/spring-boot.git
$ cd spring-boot-hello-world
$ mvn spring-boot:run
Wonderful sir for starters.
I am looking for springBoot with microservice sample and simple example to start up
good content
Thank You