In this tutorial, we will show you how to install a Vim editor color scheme named “distinguished“.
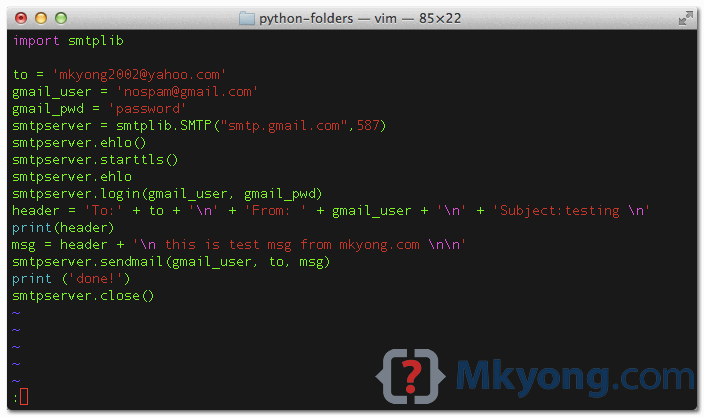
1. Default Color Scheme
Default syntax highlight in the “homebrew” profile terminal.
2. Install a new Vim Color Scheme
2.1 Download a new Vim color scheme – “distinguished“. Extracts and move the downloaded *.vim file to this folder ~/.vim/colors/.
mv ~/Downloads/vim-distinguished-develop/colors/*.vim ~/.vim/colors/
P.S Create the folders if not exists.
2.2. Edit the vim ~/.vimrc file, enable the syntax highlight and set the colorscheme to “distinguished”.
~/.vimrc
syntax on
colorscheme distinguished
Done, when you start Vim editor next time, by default, syntax highlight is enabled and the “distinguished” color scheme will be used.
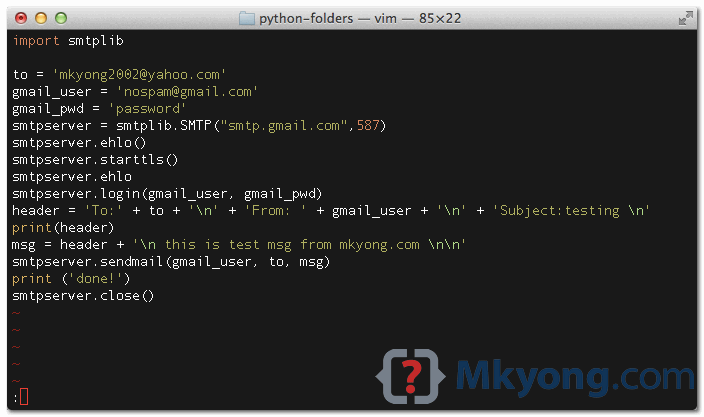
3. Test
3.1 Open a file with Vim editor, the new “distinguished” schema will be applied. See figure below :
Note
To test a color scheme, in Vim editor, switch to command mode, and type
To test a color scheme, in Vim editor, switch to command mode, and type
:colorscheme new_scheme. The “new_scheme” is the *.vim files in ~/.vim/colors/.
Just testing if the comments section works…
olaala it does!
Thanks bro
thanks
Great! Thanks.